New era marketing for hydraulic hose workshops.
DESIGN OF HYDRAULIC HOSE WORKSHOP


GENERAL / Tightening
PERIODIC REPLACEMENT OF PARTS
To ensure safe operation, be sure to conduct periodic inspection of the machine. In addition, the parts listed below, if defective, may pose serious safety/fire hazards. It is very difficult to gauge the extent of deterioration, fatigue, or weakening of the parts listed below simply by visual inspection alone. For this reason, replace these parts at the intervals shown in the table below. However, if any of these parts are found to be
defective, replace before starting operation, regardless of the interval.
Also, when replacing hoses, check the clamps for deformation, cracks, or other deterioration, and replace as necessary.
Be sure to perform periodic inspection of all hoses, as shown below, and replace or retighten any defective parts found, as necessary.
Consult your authorized dealer for correct replacement.
Periodic Replacement Parts – Replacement Intervals
- Oil filter hose (Engine to oil filter) Every 2 years or Every 6000 hours
- Fuel hose ( Engine Fuel tank to injection pump) Every 2 years or Every 6000 hours
- Heater hose (Heater to engine) Every 2 years or Every 6000 hours
- Pump suction hose Every 2 years or Every 6000 hours
- Pump delivery hose Every 2 years or Every 6000 hours
- Swing hose Every 2 years or Every 6000 hours
- Travel hose Every 2 years or Every 6000 hours
- Boom cylinder line hose Every 2 years or Every 6000 hours
- Arm cylinder line hose Every 2 years or Every 6000 hours
- Bucket cylinder line hose Every 2 years or Every 6000 hours
- Pilot hose Every 2 years or Every 6000 hours
NOTE: Replace seals, such as O-rings and gaskets,
when replacing hoses.

SAFETY
PREVENT BURNS
Hot spraying fluids:
• After operation, engine coolant is hot and under pressure. Hot water or steam is contained in the engine, radiator and heater lines. Skin contact with escaping hot water or steam can cause severe burns.
• To avoid possible injury from hot spraying water. DO NOT remove the radiator cap until the engine is cool. When opening, turn the cap slowly to the stop. Allow all pressure to be released before removing the cap.
• The hydraulic oil tank is pressurized. Again, be sure to release all pressure before removing the cap.
Hot fluids and surfaces:
• Engine oil, gear oil and hydraulic oil also become hot during operation. The engine, hoses, lines and other parts become hot as well.
• Wait for the oil and components to cool before starting any maintenance or inspection work.
REPLACE RUBBER HOSES PERIODICALLY
• Rubber hoses that contain flammable fluids under pressure may break due to aging, fatigue, and abrasion. It is very difficult to gauge the extent of deterioration due to aging, fatigue, and abrasion of rubber hoses by inspection alone.
• Periodically replace the rubber hoses. (See the page of “Periodic replacement of parts” in the operator’s manual.)
• Failure to periodically replace rubber hoses may cause a fire, fluid injection into skin, or the front attachment to fall on a person nearby, which may result in severe burns, gangrene, or otherwise serious injury or death.

PREVENT FIRES
Check for Oil Leaks:
• Fuel, hydraulic oil and lubricant leaks can lead to fires.
• Check for oil leaks due to missing or loose clamps, kinked hoses, lines or hoses that rub against each other, damage to the oil-cooler, and loose oil-cooler flange bolts.
• Tighten, repair or replace any missing, loose or damaged clamps, lines, hoses, oil-cooler and oil-cooler flange bolts.
• Do not bend or strike high-pressure lines.
• Never install bent or damaged lines, pipes, or hoses.

AVOID HEATING NEAR PRESSURIZED FLUID LINES
• Flammable spray can be generated by heating near pressurized fluid lines, resulting in severe burns to yourself and bystanders.
• Do not heat by welding, soldering, or using a torch near pressurized fluid lines or other flammable materials.
• Pressurized lines can be accidentally cut when heat goes beyond the immediate flame area. Install temporary fire-resistant guards to protect hoses or other materials before engaging in welding, soldering, etc..

GENERAL / Precautions for Disassembling and Assembling
GENERAL / Tightening
TIGHTENING TORQUE SPECIFICATIONS


GENERAL / Tightening
PIPING JOINT
IMPORTANT:
The torques given in the chart are for general use only.
Do not use these torques if a different torque is given for a specific application.
Union Joint
Metal sealing surfaces (4) and (5) of adapter (1) and hose (2) fit together to seal pressure oil. Union joints are used to join small-diameter lines.
IMPORTANT:
1. Do not over-tighten nut (3). Excessive force will be applied to metal sealing surfaces (4) and (5),possibly cracking adapter (1). Be sure to tighten nut (3) to specifications.
2. Scratches or other damage to sealing surfaces (4) or (5) will cause oil leakage at the joint. Take care not to damage them when connecting/disconnecting.

GENERAL / Tightening
Screw-In Connection 
Depending on types of screw and sealing, different types of screw fittings are used.
IMPORTANT:
Be sure to confirm that the thread pitch and thread type (tapered or straight) are the correct type before using any screw-in connection.

Seal Tape Application 
Seal tape is used to seal clearances between male
and female threads, so as to prevent any leaks between threads.
Be sure to apply just enough seal tape to fill up thread
clearances. Do not overwrap.
• Application Procedure

Confirm that the thread surface is clean and, free of dirt or damage.
Apply seal tape around threads as shown. Wrap seal tape in the same direction as the threads.
Low-Pressure-Hose Clamp Tightening Torque
Low-pressure-hose clamp tightening torque differs depending on the type of clamp. 
T-Bolt Type Band Clamp:
4.4 N⋅m (0.45 kgf⋅m, 3.25 lbf⋅ft )
Worm Gear Type Band Clamp:
5.9 to 6.9 N⋅m (0.6 to 0.7 kg⋅m, 4.3 to 5.1 lbf⋅ft)
GENERAL / Tightening
Connecting Hose
CAUTION:
When replacing hoses, be sure to use only genuine Hitachi service parts. Using hoses other than genuine Hitachi hoses may cause oil leaks, hose rupture or Separation of fitting, possibly resulting in a fire on the machine.
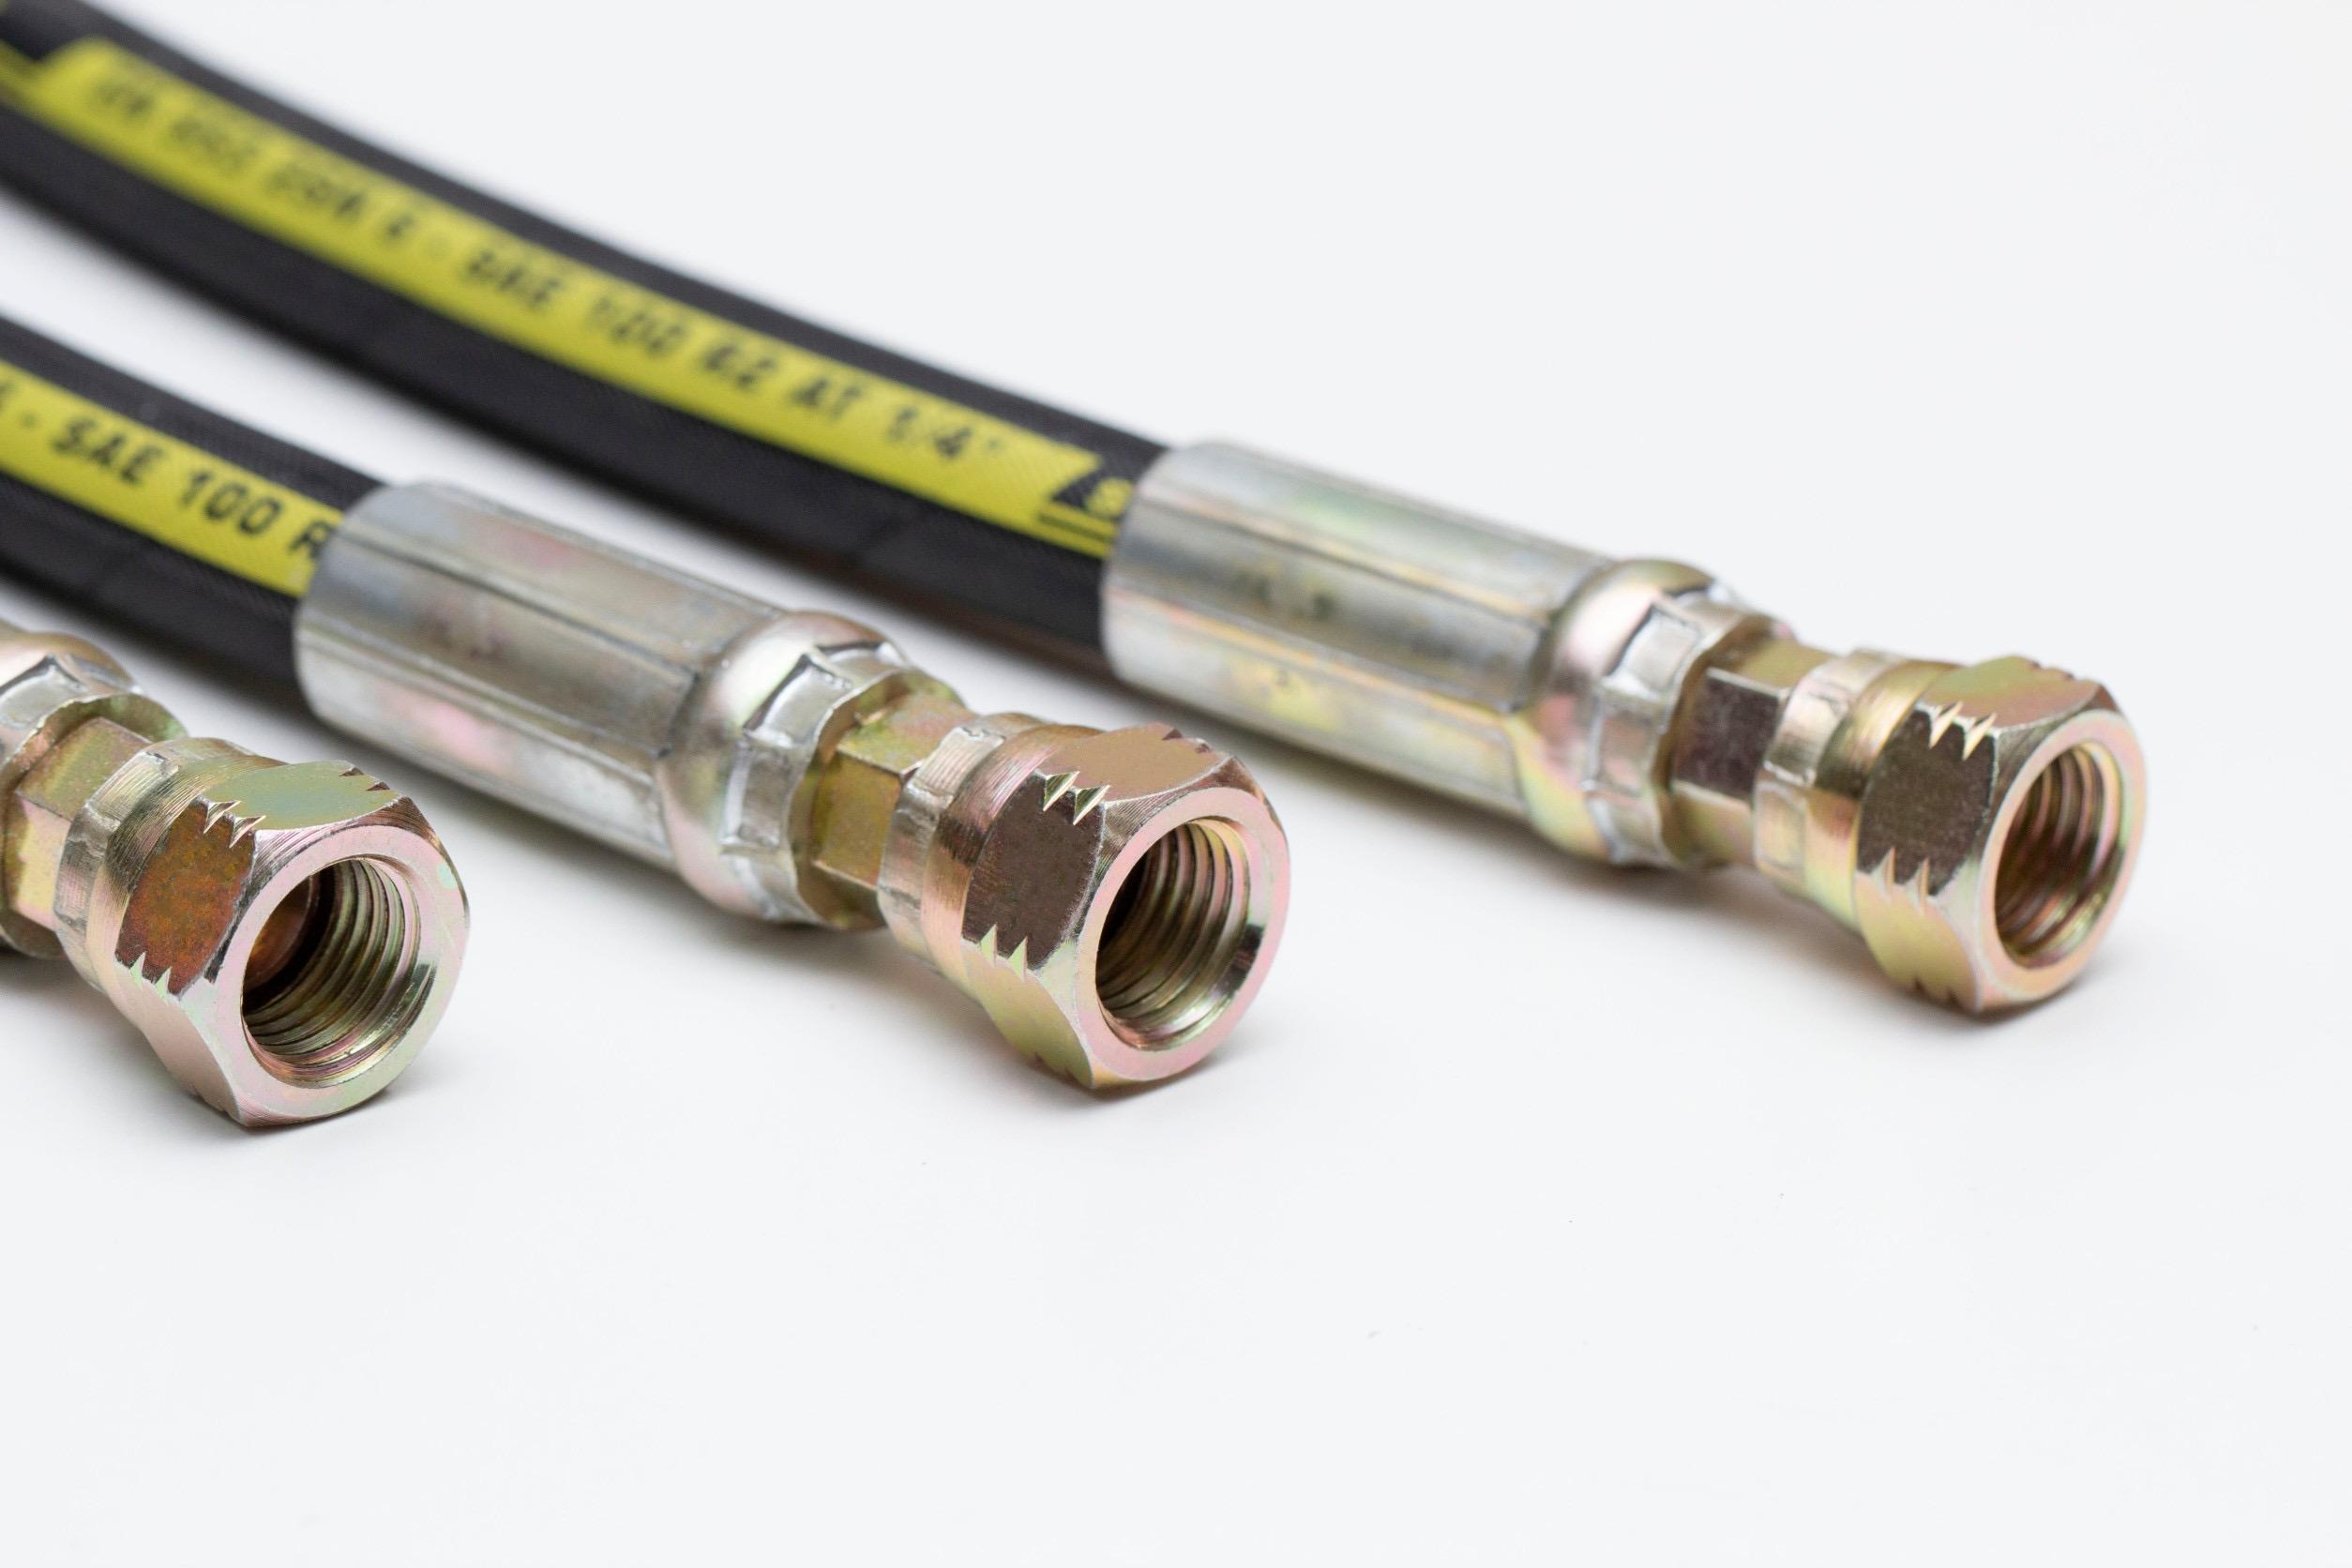
Do not install hoses kinked. Application of high oil pressure, vibration, or an impact to a kinked hose may result in oil leaks, hose rupture or separation of fitting. Utilize Print marks on hoses when installing to prevent hose from being kinked.
If hoses rub against each other, wear to the hoses will result, leading to hose rupture. Take necessary measures to protect hoses from rubbing against each other.
Take care so that hoses do not come into contact with moving parts or sharp objects.
Workshop Shape Design





You must be logged in to post a comment.